
Introduction
Welcome to our comprehensive guide to help you learn how to run and install Git on Windows. If you’re looking to streamline your version control processes on the Windows operating system, you’ve come to the right place. Git is a powerful distributed version control system that helps you track changes in your codebase efficiently. In this guide, we’ll walk you through the step-by-step process to install Git on Windows 10, ensuring a smooth setup for your development environment.
Steps For Installing Git on Windows
If you’re ready to enhance your development workflow with Git on Windows, follow these step-by-step instructions to install and run Git seamlessly on your Windows 10 machine. This comprehensive guide will walk you through the entire process, ensuring a smooth and successful installation.
1. Download Git for Windows
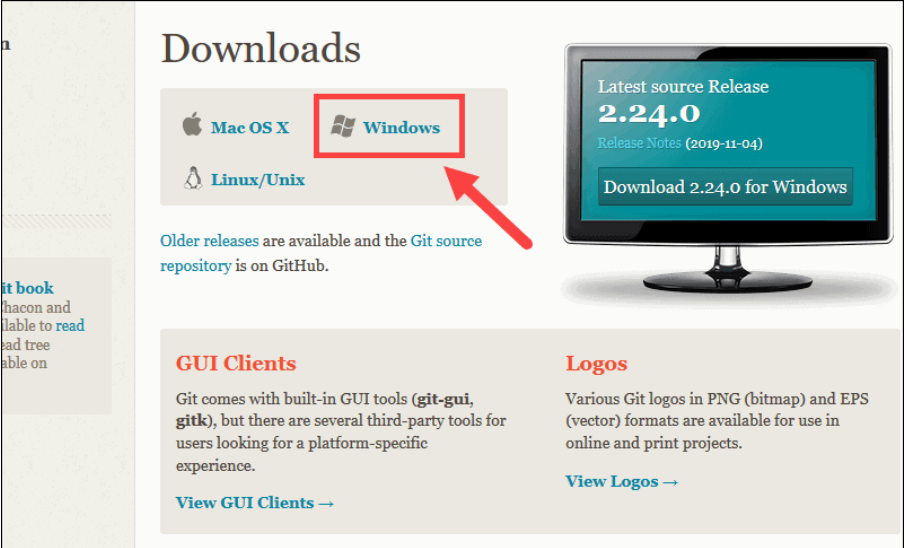
Begin by downloading the Git installer for Windows. Visit the official Git website or use the provided link in the description to access the download page. Choose the appropriate version based on your system architecture (32-bit or 64-bit) and start the download.
2. Extract and Launch Git Installer
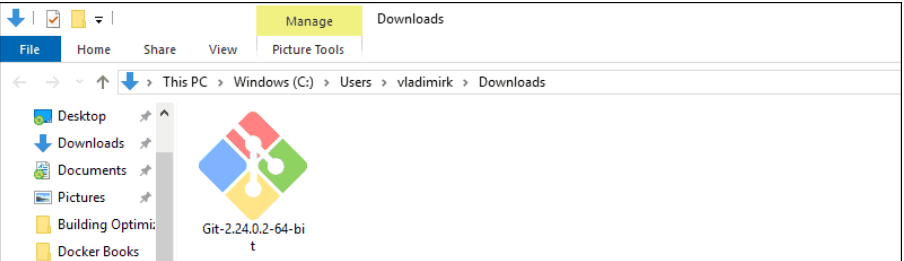
Once the download is complete, locate the downloaded file and extract its contents. Inside the extracted folder, you’ll find the Git installer executable. Launch the installer to initiate the installation process.
3. Server Certificates, Line Endings, and Terminal Emulators
During the installation, you’ll encounter options related to server certificates, line endings, and terminal emulators. Pay attention to these settings as they can impact your Git experience. Ensure that server certificates are configured correctly, choose the line-ending conversion method that suits your development environment, and select your preferred terminal emulator, with Git Bash being a recommended choice.
4. Additional Customization Options
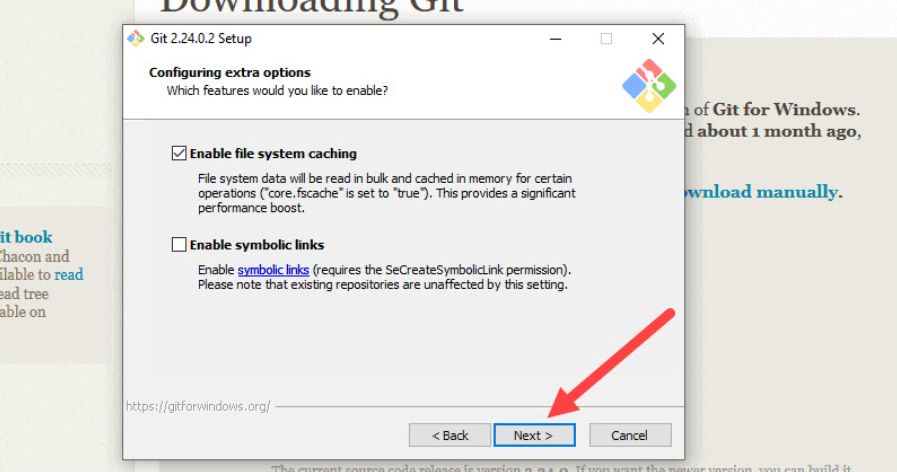
Git installation on Windows allows for additional customization. You may choose to enable features like file system caching or adjust the default behavior of Git. Take a moment to review these options and tailor the installation according to your preferences.
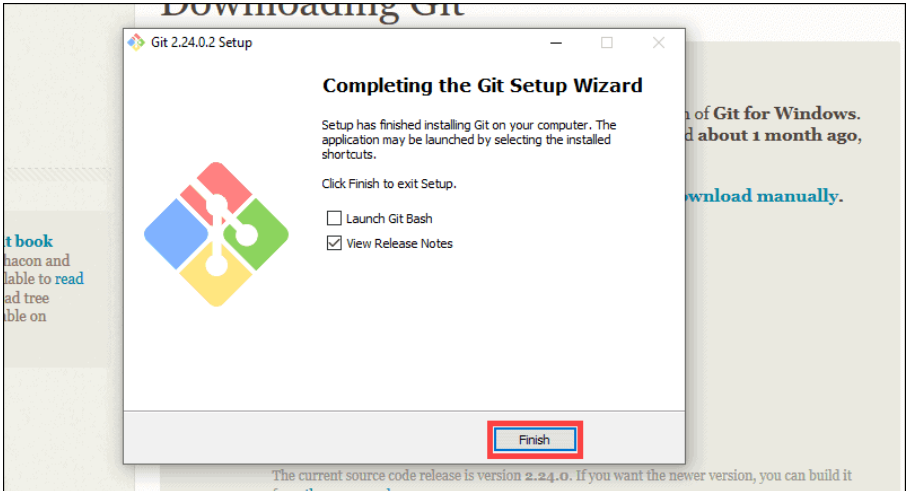
5. Complete Git Installation Process
Proceed with the installation by following the on-screen instructions. The installer will guide you through the selected components, additional features, and configuration settings. Once the installation is complete, you’ll receive a confirmation message.
How to Launch Git in Windows?

Now that you’ve successfully installed Git on your Windows system, let’s explore how to launch Git using two primary interfaces: Git Bash Shell and Git GUI. These interfaces provide distinct ways to interact with Git, offering flexibility based on your preferences and requirements.
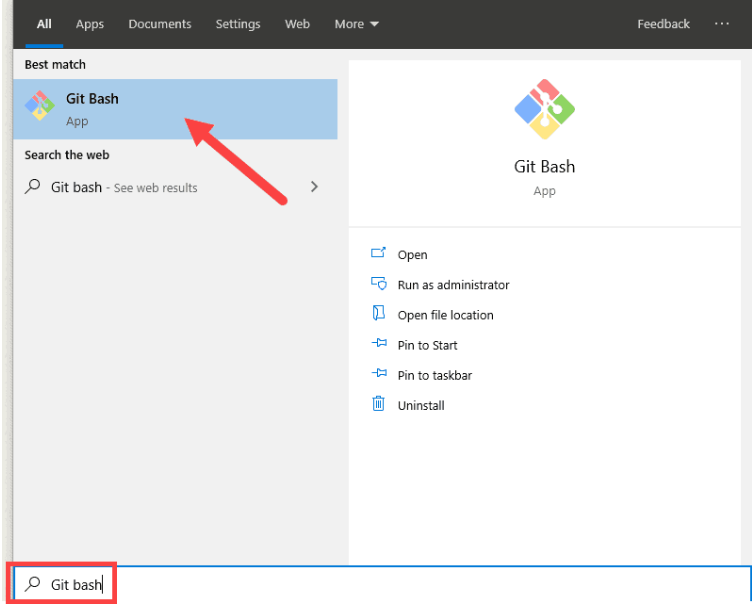
1. Launch Git Bash Shell
Locate Git Bash: After installation, you can find the Git Bash application on your desktop or in the Start menu. Click on the Git Bash icon to launch the Git Bash Shell.
Command-Line Interface: Git Bash opens a command-line interface, providing a powerful environment for executing Git commands. This interface is especially popular among developers familiar with Unix-like command-line interfaces.
Execute Git Commands: Once the Git Bash Shell is open, you can start executing Git commands. Verify your installation by typing the following command:
git --versionThis command should display the installed Git version, confirming that Git Bash is ready for use.
2. Launch Git GUI
Locate Git GUI: Similar to Git Bash, Git GUI is accessible from your desktop or the Start menu. Look for the Git GUI icon and click on it to launch the graphical user interface.
Graphical Interface: Git GUI provides a user-friendly graphical interface for interacting with Git. This is an excellent option for those who prefer a visual representation of their version control activities.
Repository Interaction: Use Git GUI to manage repositories, visualize changes, and perform various Git operations more intuitively. It’s a great choice for users who may be less comfortable with command-line interfaces.
By following these steps, you can easily launch Git on your Windows system using either the Git Bash Shell or the Git GUI. Experiment with both interfaces to discover which one aligns better with your workflow and preferences.
Connecting to a Remote Repository

Now that you have Git installed on your Windows system, let’s delve into the process of connecting to a remote repository. Whether you’re collaborating with a team or utilizing online repositories like GitHub, these steps will guide you through the seamless integration of your local Git environment with a remote repository.
1. Create a Test Directory
Start by creating a test directory on your local machine where you can initiate and manage your Git repositories. Open your preferred file explorer, navigate to the desired location, and right-click to create a new directory. This will serve as your testing ground for Git operations.
2. Configure GitHub Credentials
Before connecting to a remote repository, ensure that you have your GitHub credentials configured on your local machine. Open Git Bash or the command prompt and set your username and email using the following commands:
git config --global user.name "Your GitHub Username"git config --global user.email "Your GitHub Email"Replace “Your GitHub Username” and “Your GitHub Email” with your actual GitHub credentials.
3. Clone a GitHub Repository
To connect to an existing remote repository, use the git clone command. Navigate to your test directory in Git Bash or the command prompt and execute:
git clone https://github.com/username/repository.git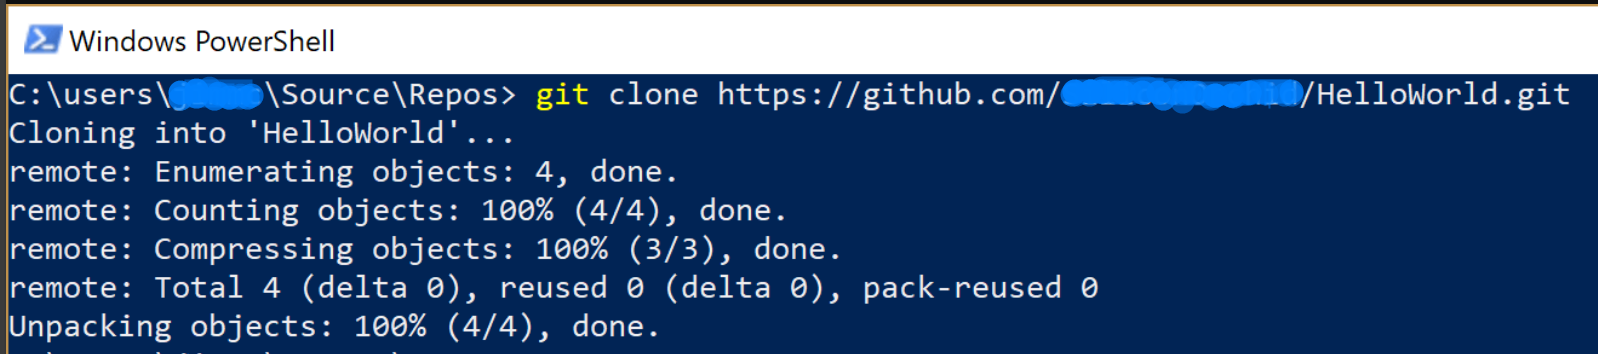
Replace “https://github.com/username/repository.git” with the URL of the GitHub repository you want to clone. This command downloads the repository to your local machine, establishing a connection between your local environment and the remote repository.
4. List Remote Repositories
To view the remote repositories associated with your local Git project, use the following command:
git remote -vThis command lists the remote repositories, showing the URLs associated with fetch and push operations.
5. Pushing Local Files to the Remote Repository
After making changes to your local repository, you can push those changes to the remote repository using the git push command. Ensure you’re in the local repository’s directory and execute:
git push origin masterReplace “master” with the name of your branch if it differs. This command sends your local changes to the remote repository, keeping both environments synchronized.
Congratulations! You’ve successfully connected to a remote repository and performed essential Git operations on Windows. Stay tuned for more advanced Git techniques and collaborative strategies in our ongoing guide.
Also Read: 70+ Windows CMD Commands List with Screenshots
Conclusion
As we conclude our comprehensive guide on installing and running Git on Windows, you’ve embarked on a journey to enhance your version control capabilities. Installing Git on Windows, a pivotal step in modern software development opens doors to efficient collaboration, seamless code management, and enhanced project tracking. By following our step-by-step instructions, you’ve successfully installed Git on your Windows 10 machine, configured essential settings, and explored the process of connecting to remote repositories. The power of Git lies not only in its version control capabilities but also in its ability to streamline collaboration, making it an indispensable tool for developers worldwide.
As you continue your Git exploration, consider delving into advanced Git commands, branching strategies, and collaborative workflows. Git’s versatility empowers you to manage projects of any scale, whether you’re working solo or with a team of developers. Remember to stay connected with the Git community, leverage online resources, and explore additional features to maximize your proficiency. The skills you’ve acquired in this guide lay the foundation for a more efficient and organized development process.
In the dynamic landscape of software development, Git on Windows stands as a cornerstone, providing the flexibility and control you need to succeed. We hope this guide has equipped you with the knowledge and confidence to navigate your Git journey effectively.
Stay tuned for more insights, tips, and advanced techniques as you continue to harness the power of Git on your Windows environment.


